How To Wire a Pressure Switch on Well Pump
- everlastingwells
- Apr 27, 2025
- 4 min read
Connecting a pressure switch to a well pump is important for controlling the flow of your water supply system. In this detailed guide, we’ll walk you through the process, step by step, making it easy for you. Whether you're a beginner or experienced with electrical work, this article will help you wire your pressure switch quickly and efficiently.
Understanding the Basics
A pressure switch is widely used in well pump systems to monitor and control the system pressure. It observes the pressure in your pipes and only starts and stops the pump whenever the pressure reaches a certain level.
These are the basic parts of the pressure switch:
Pressure Switch: A switch which is used to control the pump depending on the pressure of water.
Pump: This transfers water from the well to the house plumbing system including distributing it throughout the house.
Power Supply: This supplies electricity which is needed to power the pump.
Gate Valves: These are isolation valves which can be fully opened or closed and do not allow the reversal of the flow of water.
Safety First
The following are safety measures that should be put in place:
1. Switch Off Power: When doing electrical work, always ensure the power supply of the well pump is switched off at the circuit breaker.
2. Use Insulated Tools: In electrical work, special care should be taken in using tools with insulated handles to prevent electrical shocks.
3. Protect Yourself from Electric Shock Risks: Since most heat exchangers are electrical, it is advised that the individuals working around the equipment wear rubber-soled shoes and rubber gloves.
4. Local Codes: Make sure that the wiring is done in accordance with the respective local codes and standards of the region.
Tools and Materials Needed
First, you need to compile a list of all the supplies and equipment that will be needed:
- Screwdriver (Phillips and flathead)
- Wire stripper/cutter
- Multimeter
- Wire nuts
- Electrical tape
- Pressure switch
- AC power supply of 240V/115V or 120V, according to the engine pump pressure that you will need
- Install well pump, if not present
- Manual (This includes wiring diagram which is normally availed with pressure switch)
Step-by-Step Wiring Guide
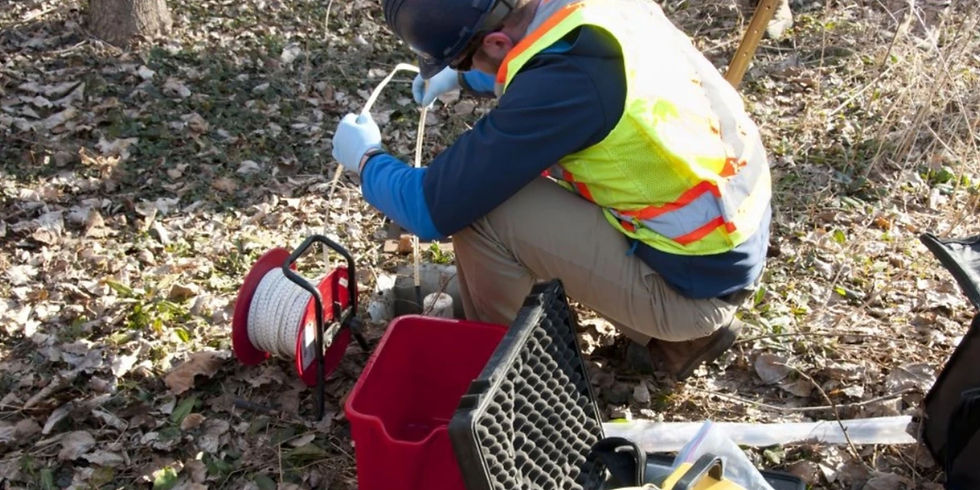
Step 1: Install the Pressure Switch
1. Aim at the Right Place: Mount the pressure switch by the well pump to prevent moisture effects; the unit should be in a dry region and within easy reach.
2. Install the Pressure Switch: The pressure switch should then be fastened to the desired location on the wall or any other point where it can be adequately anchored using screws.
3. Pressure Lines: The pressure lines should be connected from the pressure tank to the pressure switch. Make sure that the hose lines are well shrunk and are not leaking.
Step 2: Identify Wires
1. Identify Wire Colors: It is essential to learn the common colors of various wires used in general wiring. There are normally a black (hot), red (hot), white (neutral), or green/bare (ground) wire present in most cases.
2. Read the label: Since there are many models of pressure switches available, it is advisable to check on the wiring diagram within the package for directions on wiring.
Step 3: Connect the Wires
1. Disconnect Power: Make sure that the power source to the circuit is switched off.
2. Earthing the Black Wire: Solder one of the black wires of the pressure switch to the black wire of the power supply.
3. Red Wire Connection: Solder and connect the red wire of the power supply to the other black wire on the pressure switch.
4. Link the White Wire: There are instances when the pressure switch needs a neutral wire, and in that case, connect the white wire from the power supply to the switch’s white wire.
5. Connect the Green/Bare Wire: The green or bare wire from the power supply should be connected with the green or bare wire of the pressure switch for grounding.
Step 4: Secure the Connections
1. Secure with wire nuts: Twisting is not always sufficient to obtain a secure connection; using wire nuts over each wire connection will help in tightening the connection firmly.
2. Ground Wire: The copper wire serves as the ground wire and should be stripped of its outer layer and closely wrapped with electrical tape.
3. Loose Wires: The wires must also be properly connected; there should be no stray strands of wires hanging around.
Step 5: Test the Connections
1. Power On: Switch the power supply back on at the circuit breaker.
2. Check the Pressure Switch: Switch on the multimeter to the voltage option and connect the probe to the terminals of the pressure switch. You should read the correct voltage of the system which may be 120V or 240V.
3. Check Pump Operation: Connect the hose and the faucet, and turn on and look at the pump. It should turn on whenever the pressure is low and switch off the moment the pressure is normal again.
Troubleshooting Common Issues
Here are some of the general problems, and some solutions, that may occur when you wire your pressure switch:
Flow Rate is Low: Examine all the wires to ensure that they are well-fastened and tightened correctly. Make sure that the pressure switch settings are correctly set for the requirement of the system.
Low Pressure in Tank: The pressure tank should be checked for its operational air pressure; it should run continuously. If necessary, you can adjust the set pressure switch and the pressure level.
No Power to Pump: If you encounter a "no power" error, check the circuit breaker and connections to ensure everything is turned on and properly connected.
Final Checks
The following is the final checklist that should be implemented:
1. Screw Tightening: Every connection area must be visually inspected to ensure that all are secured and insulated accordingly.
2. Test Under Load: Simply pass water through the system to see that the pump is working as it is required.
3. Check its Effectiveness: This is done to verify that the chosen system is functioning properly and will not encounter technical problems shortly after implementation.

Comments